How to add signature to sent email in the sent items folder?
By default, emails in your sent items folder do not show the actual signature which is visible to your recipients because your signatures for emails are attached by Sigsync service on the fly and sent to your intended recipients. However, using Sigsync you can enable signatures for the mail items in your Sent Items folder.
Click here to know the working of the Sent Items Signature in Sigsync email azure service.
To enable the option 'Enable Email Signature in Sent Items folder' follow the below steps.
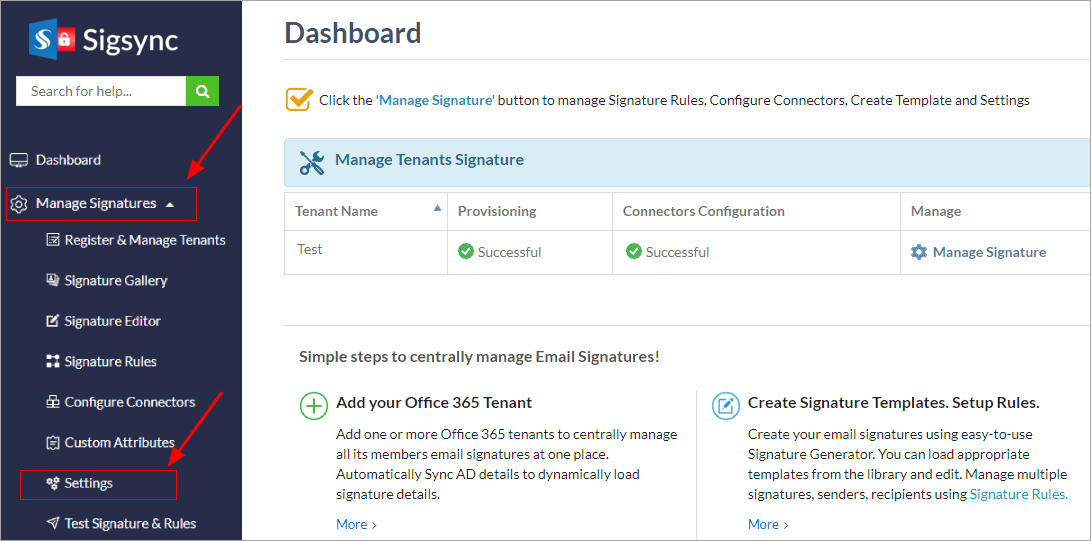
Step 1: Login to Sigsync Dashboard. Select 'Manage Signatures' < 'Settings' tab from the dashboard.
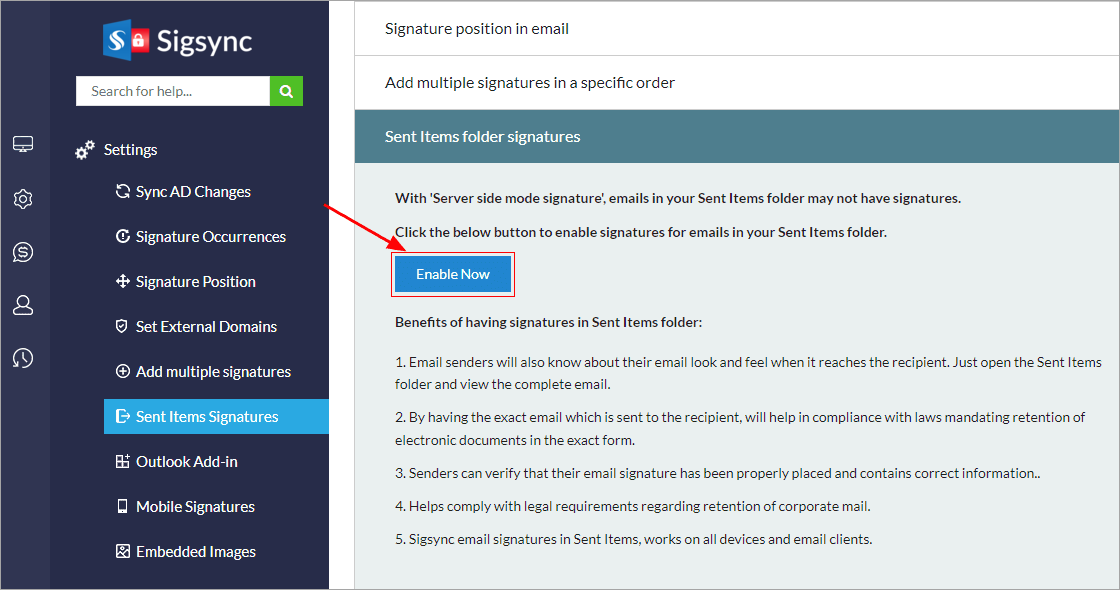
Step 2: Click on the 'Sent Items Signatures' tab and click the 'Enable now' button as highlighted in the below screenshot.
Advantages of having email signatures in users sent items folder.
- Users will be able to view the signature’s look and feel when it reaches the recipient. Open the sent items folder to view the complete email with signature.
- Without having this feature enabled, your sent email content will not have signatures which may include disclaimers. This will be an issue when you require a copy of email for compliance with laws mandating the preservation of computerized documents in the specific form.
- To verify accuracy and correctness of the position placement in the email signature.
- To preserve corporate emails in case of any legal issues.
- It works on all the devices and email clients.
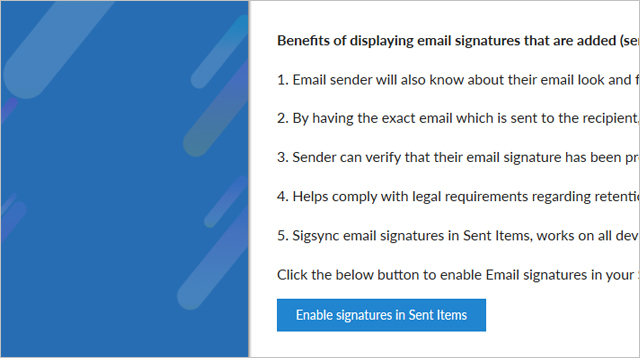
A quick video guide to enable signature in sent email
Streamline Email Signature Management with a Free On-demand Demo from Sigsync
Sigsync email signature service provides effortless, centralized signature management for Office 365 and Exchange. Our team can assist you in quickly setting up company-wide signatures. Request a free on-demand demo to see how Sigsync can simplify your email signature management process.


